Related Articles
No related articles found!
How To Setup Your Workspace In EasyDesk With Sample Or Manual Data
Noah Parker
06 May, 2026
Getting started with EasyDesk feels simple once you follow the guided setup. Each step builds your support system piece by piece, so by the end, you have a fully working workspace ready to handle customers, tickets, and conversations. To set up your workspace easily, you will need to create a group, a channel under that group, and a support portal under that group.
Below is a clear, friendly walkthrough so you can set everything up without confusion.
Choose Your Preferred Method To Start
After you log in, EasyDesk shows a welcome screen with setup options.
You’ll see three choices:
Set up with sample data → A ready-made workspace with demo data
If you are new, go with the sample data. It helps you understand how everything works before setting up your real system. After clicking Set up with sample data, A demo workspace will be created. Don’t worry, you can reset your workspace from settings anytime, or it will reset automatically when you upgrade your plan.
Set up manually → A clean workspace where you configure everything yourself.
Set up later → Skip setup for now and explore the dashboard
If you already know what you want, choose manual setup.
Setting Up The Workspace With Sample Data
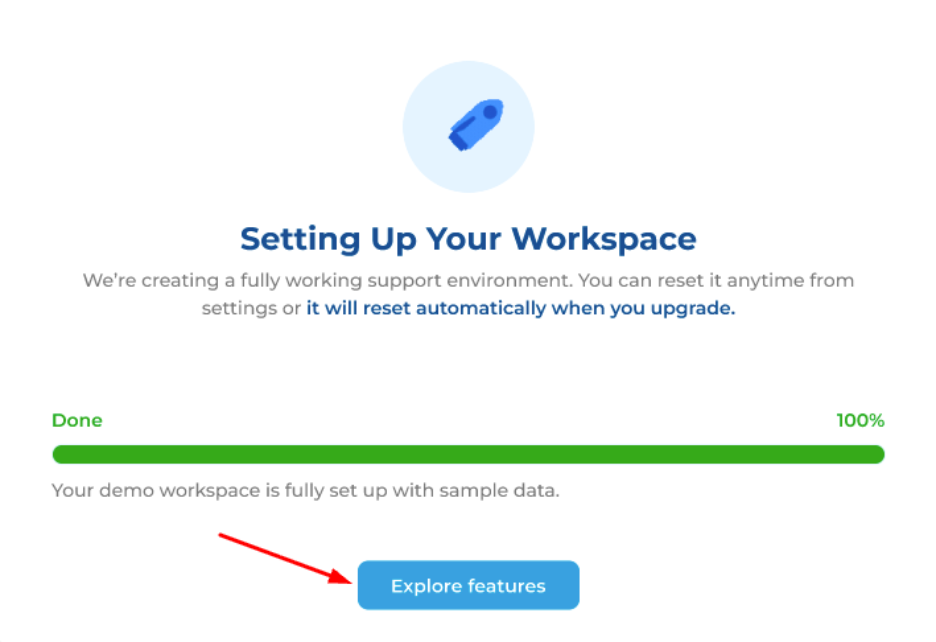
Step 1: Let EasyDesk Prepare Your Workspace
If you selected sample data, EasyDesk will automatically create a demo workspace for you.

A progress bar will show setup status
Wait until it reaches 100%
Then click Explore features
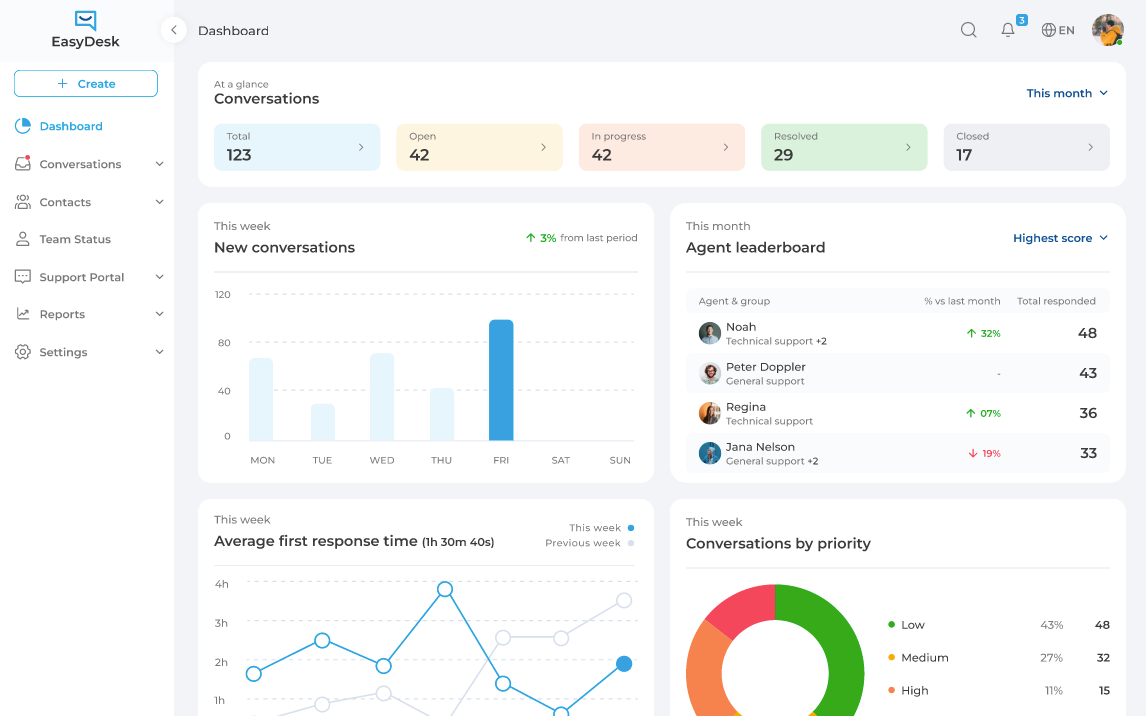
Step 2: Enjoy The EasyDesk’s Features
At this point, your workspace already includes sample tickets, conversations, and workflows. You can explore without breaking anything.
After clicking Explore Features you will be redirected to the dashboard.
Resetting Your Workspace Data
If you have started with Sample Data, but now you want to input your real data (within the trial period). Yes, you can do it by simply clicking General Under Settings and locate to Workspace Setup.

Click on “Reset Data“ to remove all the sample data and create a clean workspace for you.

Now you can manually, setup your workspace.
Note: Once your trial period ends, the “Reset Data” option inside Workspace Setup will no longer be available. To continue using EasyDesk and access the dashboard along with other core features, you’ll need to upgrade your plan.
You can upgrade your subscription from:
Settings → Plans & Bills → Plans
After upgrading, all sample data will be removed automatically, allowing you to start with a clean workspace.
Setting Up The Workspace With Manual Data
Step 1: Click “Set Up Manually“
After loggin in your EasyDesk account for the first time, EasyDesk shows a welcome screen with setup options. To set up with Manual Data you need to choose “Set Up Manually“ option.

Note: If you skip the “Set Up Manually” option, you won’t see it again later. You can still fully configure your EasyDesk workspace from scratch by following this guide.
Step 2: Create Your First Group
Groups help organize your team and control how conversations are assigned.
For example, you might have:
Support Team
Sales Team
Technical Team
What to do here:
Enter a Group name (like “Support Team”)
The Group manager (person responsible for the group) will be you by default. You can add another group manager to this group if you need from Settings.
Click Next

This group will handle incoming tickets by default.
Step 3: Create Your First Channel
Channels define where customer messages come from.
Think of channels like:
Email support
Live chat
Social messaging
Steps:
Enter a Channel name (e.g., “Support Channel”)
Confirm the Default group (created earlier)
Click Next

Every message from customers will come through this channel.
Step 4: Configure Your Channel Settings
Now you decide how customers interact with you.
Fill in the following:
Email (Ticket System)
Set your support email (e.g., support@yourcompany.easydesk.app)
Customers can send emails that turn into tickets
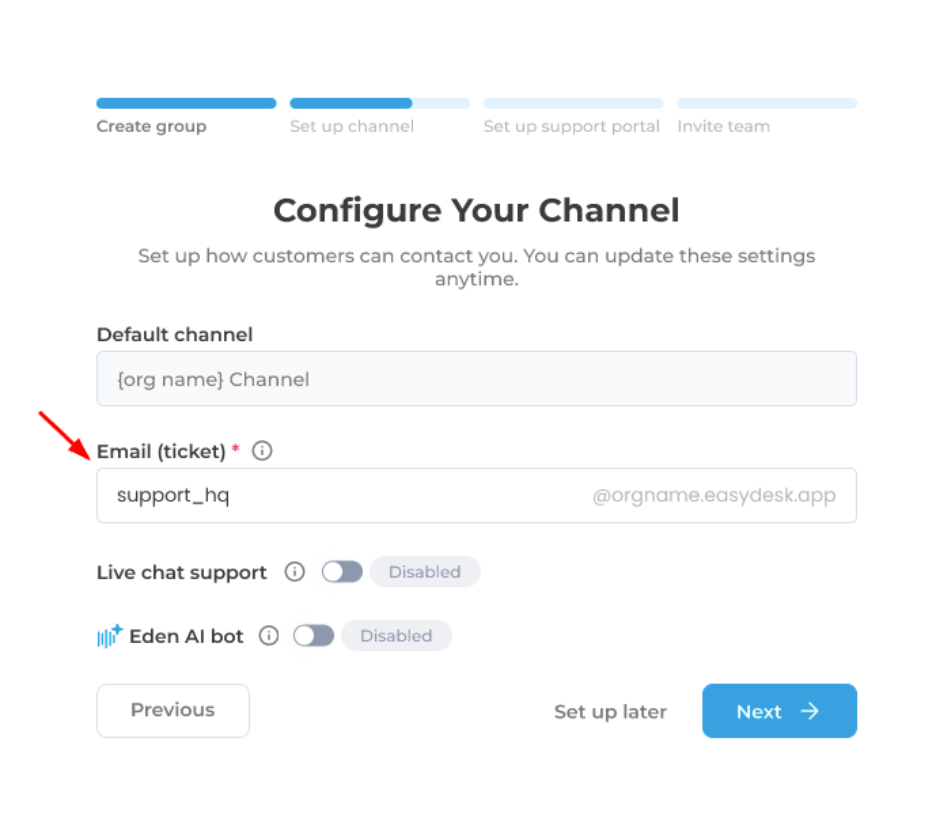
Live Chat
Turn ON if you want real-time chat on your website
Keep OFF if you want email-only support

Set Your Business Hours
If you have enables Live chat support, you need to set the business hours.
What you can do:
Set start and end time for each day
Turn OFF days like Saturday and Sunday
Adjust schedule based on your business hours
Example:
Monday–Friday → 9:00 AM to 5:00 PM
Saturday–Sunday → Off
This helps EasyDesk manage expectations and automate responses outside working hours.
Click Next when done.

Eden AI Assistant
Turn ON Eden AI bot to automate replies using your knowledge base
Useful for answering common questions instantly

You can always change these later, so no pressure to get it perfect now.
Click Next to continue.
Step 5: Set Up Your Support Portal
Your support portal is where customers can help themselves.
Steps:
Enter your Portal URL name (e.g., yourbrand.portal.easydesk.app)
Channel will be selected by default (the one you have created in Step 4)
Enable features like:
Community discussions
Feedback collection
Product roadmap

This reduces support workload by letting customers find answers on their own.
Note: You can manage support portal settings anytime from Settings> Brand> Customization.
Click Next.
Step 6: Invite Your Team Members
Now bring your team into the system.
Steps:
Enter team member Email address
Select a Role:
Owner → Full control
Admin → Manage system and users
Agent → Handle tickets and conversations

Set Access Permissions
You can control what each Agent can access:
Tickets
Live chat & social messaging
Knowledge base
Feedback
Note: If you invite a user as an Admin or Owner, make sure to assign the Agent role as well. Without Agent access, the user cannot access or reply to ticket conversations.

Click Add another member if you want to invite more people.
Note: You can invite upto 10 Team Members for your workspace. Also, you can manage your team members anytime from Settings> Users & Roles
Click Next to proceed.
Step 9: Finish Setup And Start Using EasyDesk
That’s it. Your workspace is ready

Now you can:
Receive and manage tickets
Chat with customers
Automate responses
Collaborate with your team
Click Explore features to enter your dashboard and start working.

Final Tips
Start simple, then improve your setup over time
Update settings anytime from the Settings section
Use automation and AI features to save time
A well-configured workspace helps your team respond faster, stay organized, and deliver better customer support from day one.
Was this information helpful?