How To Enable Live Chat In EasyDesk
Noah Parker
24 May, 2026
Live chat helps your team connect with customers instantly from your website. With EasyDesk, you can turn on live chat, customize the widget, set business hours, and install everything in just a few minutes.
This guide walks you through the complete setup process step by step.
Open Your Channel Settings
Go to Settings → Channels
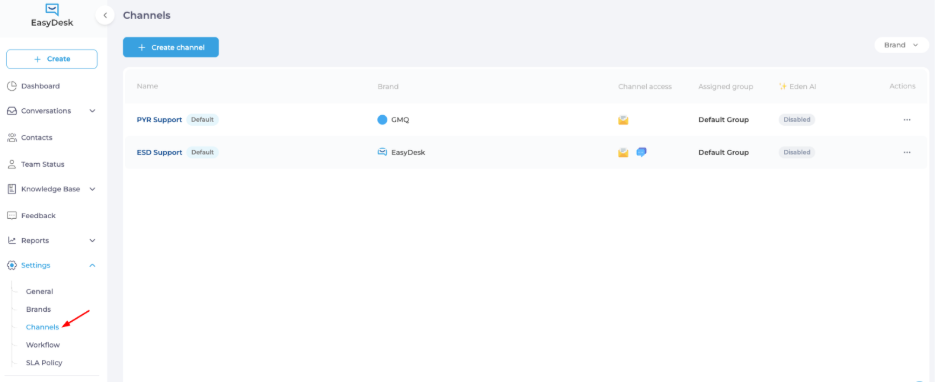
Open the support channel where you want to activate live chat

Enable Live Chat
Open The Chat Section
Inside the channel, click the Chat tab

Turn On Live Chat
Enable the Live Chat Support toggle
Once enabled, your live chat channel becomes active

Open Widget Configuration
Click the widget configuration icon beside the setup instruction

Configure Widget Appearance
Open Widget Settings
Go to the Widget tab

Edit General Settings
Click Edit inside the General section

Customize The Widget
From here, you can update:
Launcher icon
Theme color
Font style
Knowledge Base visibility

Click Save after finishing the customization

Install Live Chat On Your Website
Select Your Preferred Code Format
Inside the Installation section, choose:
JavaScript code
React.js code

Copy The Widget Code
Click Copy code

Add The Script To Your Website
Paste the copied code before the closing </body> tag of your website
Once added, the live chat widget will appear on your site automatically.
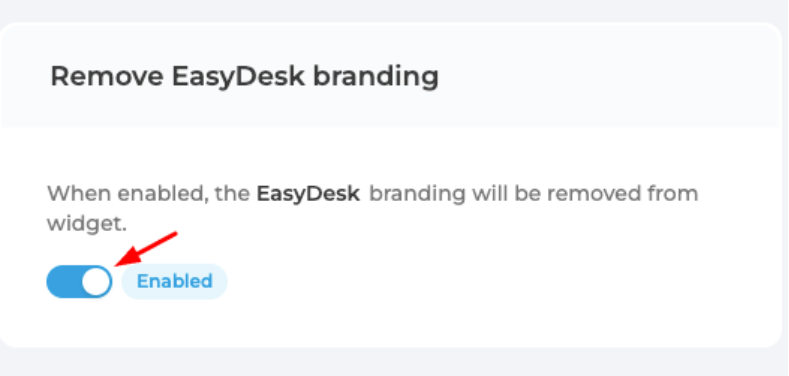
Remove EasyDesk Branding
Enable White Label Branding
Inside the Remove EasyDesk branding section:
Turn on the toggle to remove EasyDesk branding from the widget
Enable Chat Transcript Emails
Chat transcripts help customers keep a copy of their conversation.
Open Transcript Settings
Click Edit inside the Chat Transcript section

Enable Transcript Sending
Turn on the Send chat transcript option

Click Save
Configure Business Hours
Business hours help customers know when your support team is available.
Open Brand Settings
Go to Settings → Brands

Open the Customization tab

Edit Business Hours
Click Edit inside the Business hours section

Set Your Working Schedule
Enable your working days
Add start and end times
Keep non-working days as Off day

Click Save
Add Holidays And Off Days
Click Add holiday

Add:
Holiday title
Start date
End date

Click Save
Finish Your Live Chat Setup
Your EasyDesk live chat widget is now ready to support visitors on your website. Customers can start conversations instantly, and your team can manage everything directly from EasyDesk.
Was this information helpful?