Related Articles
No related articles found!
How To Get Started with EasyDesk
Ava Adaline
05 February, 2026
This guide helps you create your EasyDesk account, finish the initial setup, verify your email and organization details, and access the dashboard. Follow these simple steps to start managing customer conversations, support tickets, and teamwork from one place.
Account Setup
Account setup can be done in 5 steps, let’s have a look at these steps one by one.
Step 1: Access the sign-up page
Select get started from the EasyDesk Homepage

Submit email address
After clicking the “Get Started” button, a new page will appear where you can start opening your free account.
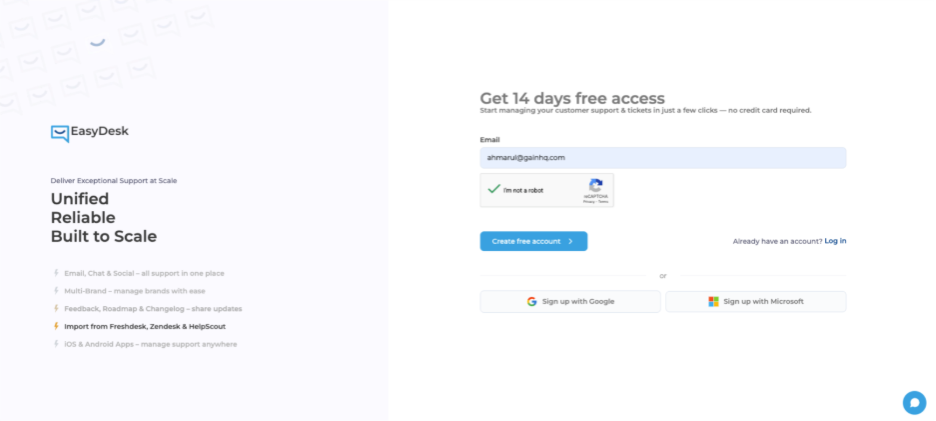
On the sign-up screen:
Enter your work email address
Complete the I'm not a robot verification
Select create free account
Alternative options:
Select sign up with google
Select sign up with Microsoft
Step 2: Verify email address
After email submission, EasyDesk sends a one-time verification code.
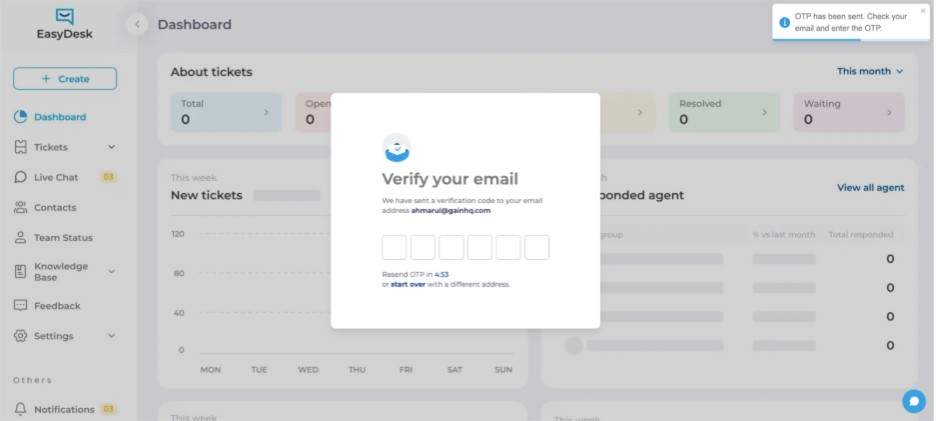
Complete email verification
Check your inbox for the verification email
Enter the 6-digit OTP code
Wait for automatic confirmation
Available actions:
Select resend OTP after timer ends
Select start over to use A different email
Successful verification moves you to profile setup.
Step 3: Set up user profile
After the email verification is completed, a pop-up window will come where you need to enter the details to setup your user profile.

Complete profile details
On the let’s set up your profile screen:
Fields displayed:
Your email (pre-filled and verified)
First name
Password
Confirm password
Password requirements
Passwords must include:
At least eight characters
One lowercase letter
One uppercase letter
One number
One symbol
Select show to preview password while typing.
After completion, select next.
Step 4: Set up organization
When your user profile setup is done, then comes the Organization setup. Here you need to provide the company details.

Organization information
On the let’s build your organization screen, provide:
Organization name
Location
Organization type
Organization size
Organization subdomain
The subdomain automatically creates your EasyDesk workspace URL:
http://yourname.EasyDesk.App
Complete setup
Select complete setup to finalise organisation creation.
EasyDesk displays a register succeeded confirmation message after successful submission.
Step 5: Log in to EasyDesk
After a successful registration, now you have to login to your account to see the dashboard.

Access the login page
Use any of the following:
Select log in from the EasyDesk website
Visit your organization subdomain directly
Enter login credentials
On the login screen:
Enter registered email address
Enter password
Select log in
Alternative options:
Select log in with Google
Select log in with Microsoft
Reset forgotten password

Start password recovery
If you forget your password:
Select change next to forgot password
Enter registered email address
Check inbox for reset instructions
Set A new password
Password updates apply immediately after confirmation.
After login, you’ll be taken directly to your EasyDesk dashboard.
Was this information helpful?